DOJ Moves to Dismiss Jan. 6 Convictions Against Proud Boys, Oath Keepers in Landmark Seditious Conspiracy Reversal

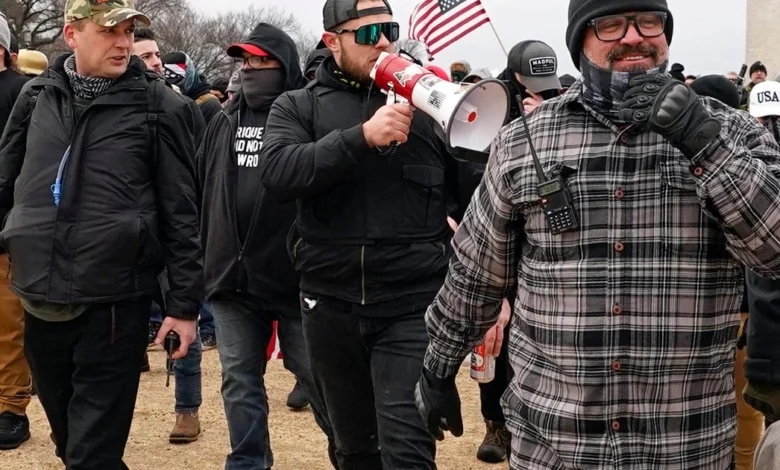
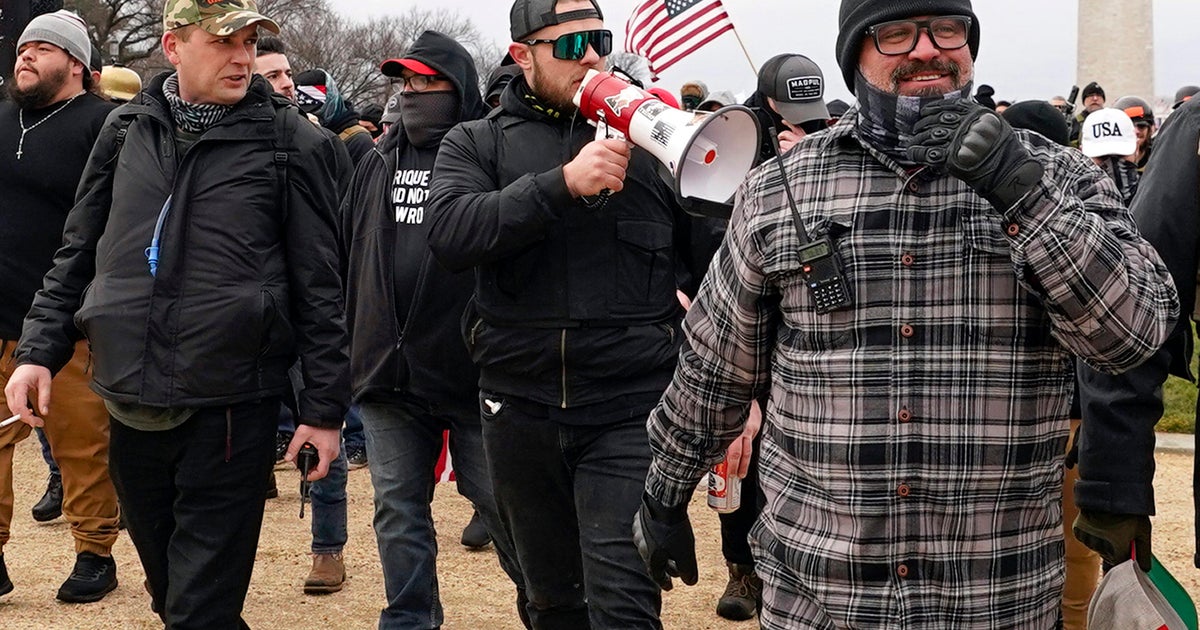
The Justice Department on Tuesday asked a federal court to vacate Jan. 6 convictions against a dozen former members of the right-wing Proud Boys and Oath Keepers, most of whom had been convicted of seditious conspiracy. This unprecedented legal maneuver aims to effectively wipe away some of the most significant Capitol riot charges that have remained on the books, following a wave of presidential clemency actions. The motion, filed in federal court on April 14, 2026, signals a dramatic shift in the legal landscape surrounding the January 6, 2021, attack on the U.S. Capitol.
Background of the Jan. 6 Insurrection
The January 6, 2021, Capitol insurrection remains one of the most tumultuous events in modern American history. Fueled by unsubstantiated claims of widespread election fraud following the 2020 presidential election, thousands of supporters of then-President Donald Trump gathered in Washington D.C. for a "Stop the Steal" rally. Following a speech by President Trump, a significant portion of the crowd marched to the Capitol building, where Congress was in the process of certifying the Electoral College votes.
What began as a protest quickly devolved into a violent breach of the Capitol. Rioters overwhelmed Capitol Police, breaking through barricades, smashing windows, and forcing their way into the building. Lawmakers, staff, and Vice President Mike Pence were evacuated or forced to shelter in place as the mob ransacked offices, clashed with law enforcement, and sought to disrupt the peaceful transfer of power. The violence resulted in multiple deaths, including that of Capitol Police Officer Brian Sicknick, and injuries to over 140 law enforcement officers. The event sent shockwaves globally, prompting widespread condemnation and leading to a massive federal investigation.
The Weight of Seditious Conspiracy
Among the myriad charges brought against Jan. 6 defendants, seditious conspiracy stands as one of the most severe and historically significant. Defined under 18 U.S. Code § 2384, seditious conspiracy involves two or more people conspiring to "overthrow, put down, or to destroy by force the Government of the United States, or to levy war against them, or to oppose by force the authority thereof, or by force to prevent, hinder, or delay the execution of any law of the United States, or by force to seize, take, or possess any property of the United States contrary to the authority thereof."
Historically, this charge has been rarely used and is notoriously difficult to prove, requiring evidence of a concrete agreement to use force against the government. Its application in the context of the Jan. 6 events marked a pivotal moment in the government’s response, signaling the perceived gravity of the attack. Prominent leaders from extremist organizations like the Oath Keepers and Proud Boys were indicted and subsequently convicted on this charge, with prosecutors arguing they had meticulously planned to disrupt the electoral certification process through force and intimidation.
For instance, Stewart Rhodes, the founder of the Oath Keepers, and Enrique Tarrio, the former chairman of the Proud Boys, were among those convicted of seditious conspiracy. Their trials, which captivated national attention, presented evidence of extensive planning, communications, and coordination among group members leading up to and during the riot. These convictions were heralded by the Justice Department as crucial victories in holding accountable those who sought to undermine American democracy. Sentences for these leaders ranged from several years to over a decade in federal prison, reflecting the serious nature of the crime.
A Chronology of Justice and Clemency
The legal aftermath of January 6, 2021, has unfolded over several years, marked by thousands of arrests, numerous trials, and unprecedented political interventions.
- January 6, 2021: The attack on the U.S. Capitol occurs.
- Weeks/Months Following: The FBI and DOJ launch a nationwide investigation, leading to thousands of arrests across all 50 states. Charges range from misdemeanor trespassing to felony assault, obstruction of an official proceeding, and seditious conspiracy.
- 2022-2024: Numerous trials proceed, with many defendants pleading guilty and others contesting charges. High-profile seditious conspiracy trials against leaders of the Oath Keepers and Proud Boys conclude with convictions, demonstrating the government’s resolve.
- Late 2024/Early 2025: Donald Trump is elected to a new term as president and returns to office.
- Early 2025 (Date relative to article): Hours after his return to office, President Trump issues a sweeping series of clemency actions related to Jan. 6 defendants. While he issued full pardons for "almost everybody" convicted in connection with the riot, a specific group of 14 individuals, including the 12 referenced in the current DOJ motion, had their sentences commuted to "time served." This distinction was crucial: a pardon effectively wipes out the conviction and restores civil rights, whereas a commutation reduces the prison sentence but leaves the underlying conviction intact. These 14 individuals were released from prison but still carried the weight of their felony convictions, including seditious conspiracy for many.
- April 14, 2026: The Justice Department, under the new administration, files its motion asking a federal court to vacate the convictions of 12 of these individuals.
Presidential Clemency and Its Aftermath
President Trump’s decision to issue clemency to Jan. 6 defendants immediately upon his return to office in early 2025 sparked intense debate. Critics decried the move as an undermining of the rule of law and an implicit validation of the insurrectionists’ actions. Supporters, conversely, hailed it as a corrective measure, arguing that many defendants were political prisoners who had been unfairly prosecuted.
The distinction between a pardon and a commutation proved particularly significant. For the 14 individuals whose sentences were commuted to time served, their release from prison was immediate. However, the legal and social ramifications of a felony conviction, such as restrictions on voting, gun ownership, and employment opportunities, remained. This meant that while they were physically free, their records continued to bear the mark of seditious conspiracy or other serious felonies. The current DOJ motion directly addresses this lingering consequence for 12 of these individuals.
The DOJ’s Rationale and Legal Maneuver
The Justice Department’s filing to vacate these convictions, particularly those for seditious conspiracy, represents an extraordinary legal development. Such a request from the prosecuting authority, post-conviction and post-appeal, is rare. While the precise legal arguments presented in the DOJ’s motion have not been fully disclosed, legal experts speculate on several potential rationales:
- Alignment with Executive Clemency: The most likely reason is an attempt to align the judicial record with the spirit, if not the letter, of the President’s clemency actions. While President Trump commuted the sentences, leaving the convictions in place, the current DOJ might argue that the intent behind the clemency was broader, aiming for a complete rehabilitation of these individuals. Vacating the convictions would achieve this more fully.
- Avoidance of Protracted Legal Battles: Even with commuted sentences, these individuals might have pursued further appeals to challenge their convictions, potentially tying up judicial resources for years. By moving to vacate, the DOJ could be seeking to avoid these lengthy and complex legal battles, especially given the political sensitivities surrounding the cases.
- Re-evaluation of Evidence or Legal Theory: Although less likely given the robust nature of the original trials and appeals, there is a remote possibility that a re-evaluation of specific evidence or the original legal theories applied to these specific cases could have influenced the decision. However, this would typically be a basis for an appeal, not a post-clemency DOJ motion.
- "Interests of Justice": The DOJ could argue that vacating these specific convictions is in the broader "interests of justice," particularly in light of the presidential clemency and the unique political circumstances surrounding Jan. 6. This broad justification often allows for flexibility in unusual legal situations.
The motion now places the decision in the hands of a federal judge, who will review the arguments presented by the Justice Department. The judge’s ruling will undoubtedly set a significant precedent.
Reactions from Legal and Political Spheres
The Justice Department’s move is anticipated to elicit a wide range of reactions from across the legal and political spectrums.
- Defense Attorneys: Lawyers for the Proud Boys and Oath Keepers involved are expected to welcome the motion enthusiastically. They will likely argue that their clients were unjustly targeted or that the seditious conspiracy charge was an overreach. This development provides them with an unexpected avenue for complete exoneration in the eyes of the law.
- Legal Experts: Legal scholars and former prosecutors will likely express both surprise and concern. Some may view it as an erosion of prosecutorial independence and a dangerous precedent, suggesting that future administrations could effectively nullify judicial outcomes for political reasons. Others might see it as a legitimate exercise of executive influence in the justice system, particularly when clemency has already been granted. The implications for the sanctity of jury verdicts and the finality of legal judgments will be intensely debated.
- Lawmakers and Public: Reactions from Congress and the public are expected to be sharply divided. Democrats and those who view the Jan. 6 insurrection as a grave threat to democracy will likely condemn the move as a betrayal of justice and an affront to the victims of the riot, particularly law enforcement officers. Republicans and supporters of President Trump may praise it as a necessary step to correct perceived injustices and further heal political divisions. The optics of clearing convictions for individuals found to have conspired against the U.S. government will be a significant point of contention.
- Victims and Families: Families of fallen officers and those injured during the riot may express profound disappointment, viewing the dismissal of convictions as a minimization of the severity of the attack and the harm inflicted.
Implications for Justice and Precedent
This development carries profound implications for the American justice system and future instances of political violence.
- Precedent for Executive Clemency: If the court grants the DOJ’s request, it could set a powerful precedent for how future presidential clemency actions interact with the judicial process. It suggests that a commutation, which traditionally leaves a conviction intact, could be followed by a prosecutorial request to vacate, effectively achieving the outcome of a full pardon without the president directly issuing one.
- Impact on Jan. 6 Legacy: The vacating of seditious conspiracy convictions for key figures would significantly alter the official legal narrative of the Jan. 6 insurrection. It might be interpreted by some as a softening of the government’s stance on the event’s severity, potentially emboldening extremist groups or fueling narratives that minimize the attack.
- Rule of Law vs. Political Influence: The move raises fundamental questions about the balance between the rule of law, independent judicial processes, and the influence of the executive branch. While the President has constitutional clemency powers, a DOJ motion to vacate a conviction after a full trial and appeals process is an unusual exercise of executive influence over judicial outcomes.
- Future of Domestic Extremism: How this decision is perceived by domestic extremist groups will be crucial. If it is seen as a successful political maneuver that can ultimately nullify serious charges, it could potentially be interpreted as a weakening of consequences for future actions, though this is a speculative outcome.
Broader Context of Domestic Extremism
The original convictions of Oath Keepers and Proud Boys leaders for seditious conspiracy were widely seen as a strong deterrent against future acts of organized political violence. They sent a clear message that planning to disrupt government functions by force would result in severe legal consequences. The current DOJ motion, if granted, could complicate this message.
The landscape of domestic extremism remains complex, with various groups continuing to espouse anti-government sentiments. The legal system’s response to events like Jan. 6 is critical in shaping the boundaries of permissible protest and unacceptable violence. Any action that appears to lessen the accountability for such grave offenses will be closely watched by these groups and by those dedicated to countering domestic terrorism.
The Road Ahead
The federal court now faces a complex decision. The judge will have to weigh the Justice Department’s arguments against the established legal record, the sanctity of jury verdicts, and the broader implications for public confidence in the justice system. The ruling on this motion will not only determine the legal fate of the 12 individuals but will also serve as a landmark moment in the ongoing national reckoning with the events of January 6, 2021, and the interplay between executive power and judicial finality. This breaking story will be updated as further details emerge from the court proceedings.